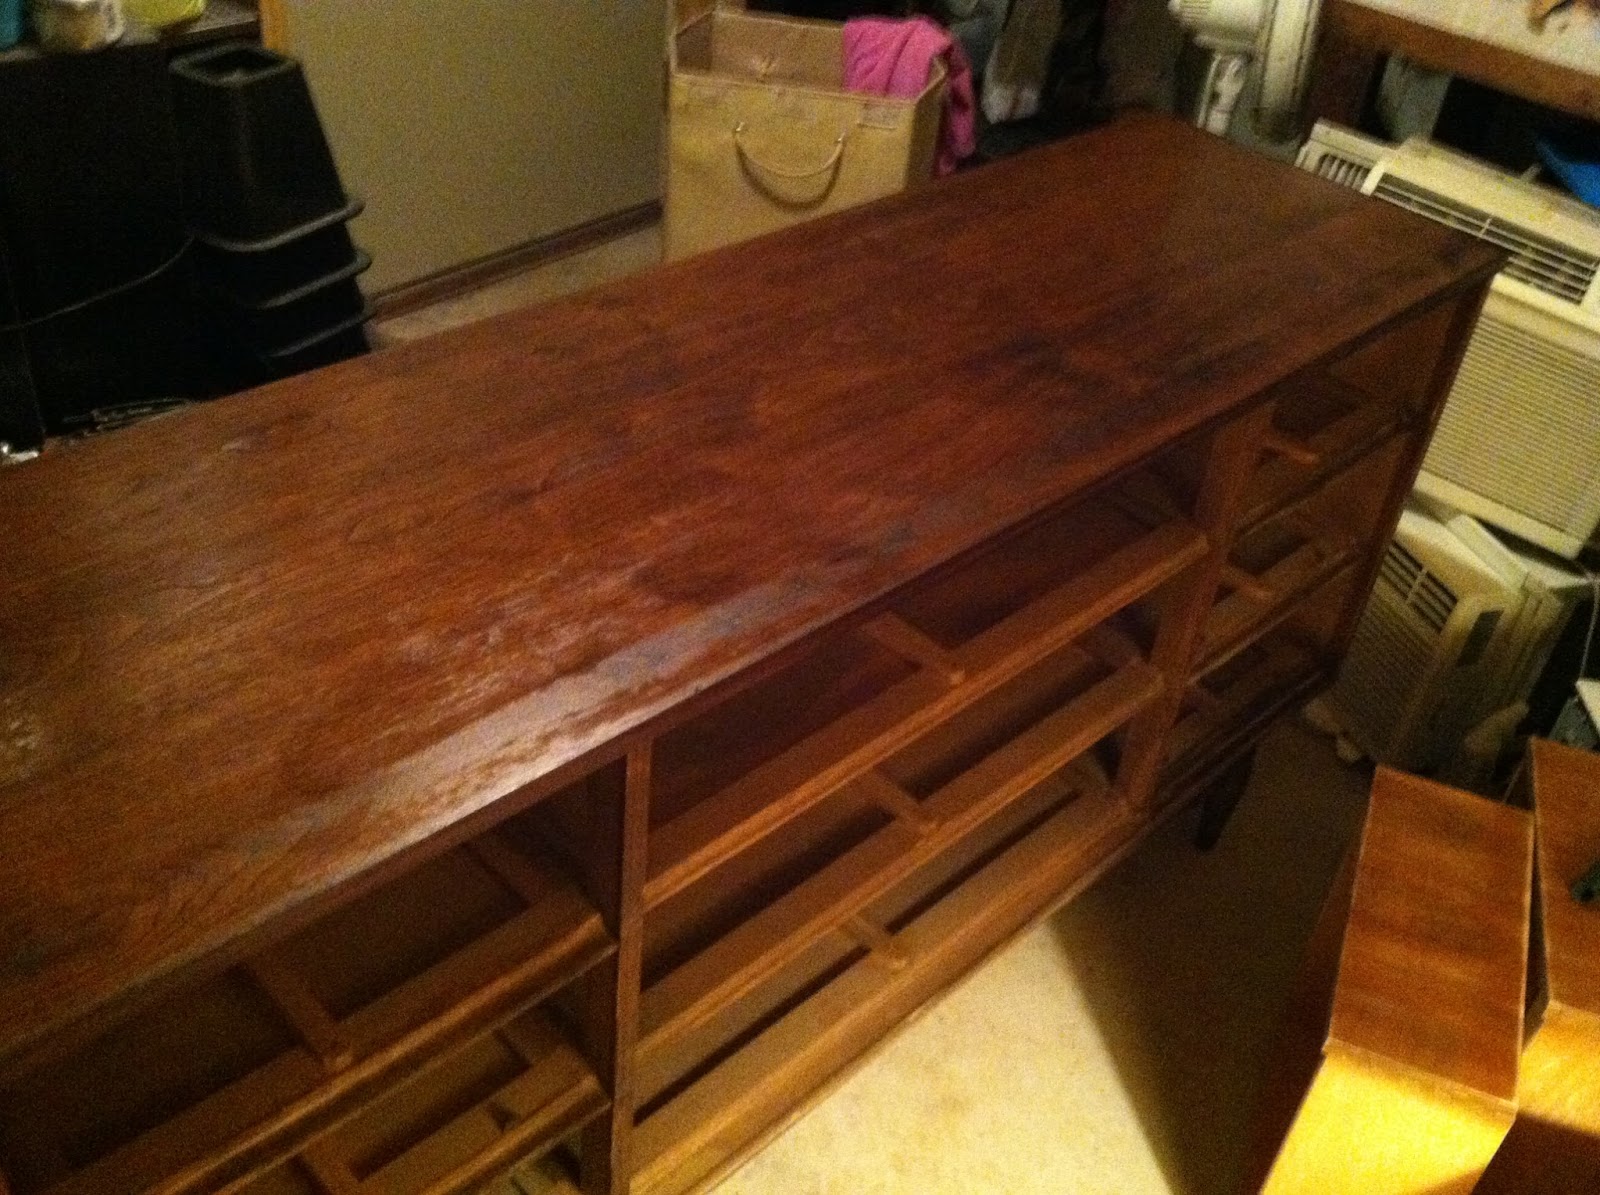
My daughter brought home this neglected dresser free from a yard sale at the beginning of the summer. The drawers didn't all slide nicely, it had a loose leg, a bit of a warp in the backing, and was sort of...eh.

Turns out they had some of the drawers in the wrong spots, because as I took a little time to try them in different areas, they seem to slide a little better. There was paint and marks on the top, though, and it just wasn't anything we wanted in our living area. It was something I wanted to try my hand at redoing, though.
The dresser has sat in the basement patiently waiting until I finished my schooling, and now offers me the pleasant distraction of taking my mind off of my test results by trying to figure out what to do with it. Daughter 1 didn't want it anymore; she hasn't room for it in her apartment. Daughter 3 said she would love it, but wants it for a buffet to use for dishes and linens - which goes perfect with what I have in mind.
I spent a few days going through Pinterest and Hometalk, gathering ideas and inspiration. We decided on a creamy white, with a secondary accent of a slightly darker shade of white (and I know how odd that sounds, but the paint store has 141 shades of white!) I really did love some of that wood, though, so we decided to try to get the top to a place where I can stain it darker, and have the top stained but the rest of the cabinet with the two whites.
I brought out my beloved new hand sander and planned to simply go over the top, but ended up hitting the sides of the drawers so that they will slide better and the fronts, just to take off the finish.

We opted to go with ebony stain, but this is very hard wood and doesn't feel like taking up much of the stain. My plan is to go over it again once this bit has soaked in, to see if it will darken. I have since heard of Java Gel stain, but I'm trying not to keep buying materials, so that my *free* furniture project doesn't end up being my *million dollar* project.

 |
| trying to decide which way to do the pattern. |
This also took more time than planned, because I had a stencil we thought would be great, but turned out it is not a real stencil at all, but more for screen printing. It will still work quite well for paint, but not texture. Back to the store we went, and daughter 3 picked out a stencil she liked.

Back in the basement, it turns out that this is much more work than it looks like it would be. The spackle I used (goes on pink, dries to white when it is dry) is slippery, and goopy, and the stencil wasn't taped on. I tried to tape the drawers together, then ended up stenciling over the tape.
.JPG)
.JPG) |
| see where the tape came up and the stencil lifted? |
So it all sits with a fan on it, drying, at this point, because I have to run out and don't have time to start painting and still be clean for my meeting. Stay tuned, I'll have updates as the progress continues!
Can't wait to see the finished product!
ReplyDelete